Category: Rigged Character

  • It’s alive!

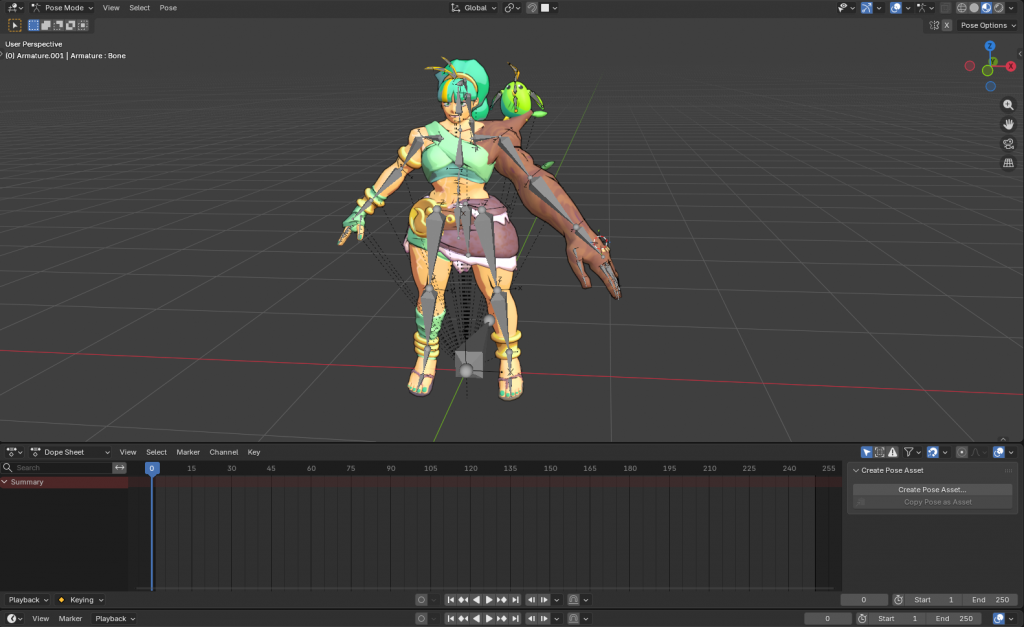
    Using my rig I was able to animate my character. For reference I took photos of myself in the key poses I needed for the animation.
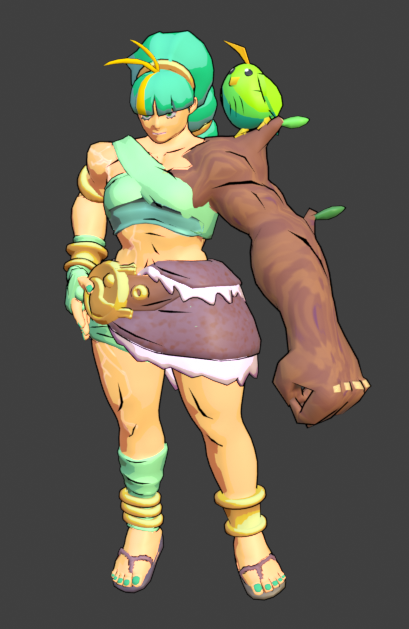
    I chose a simple animation for my character, something to show their soft side compared to their intimidating exterior.
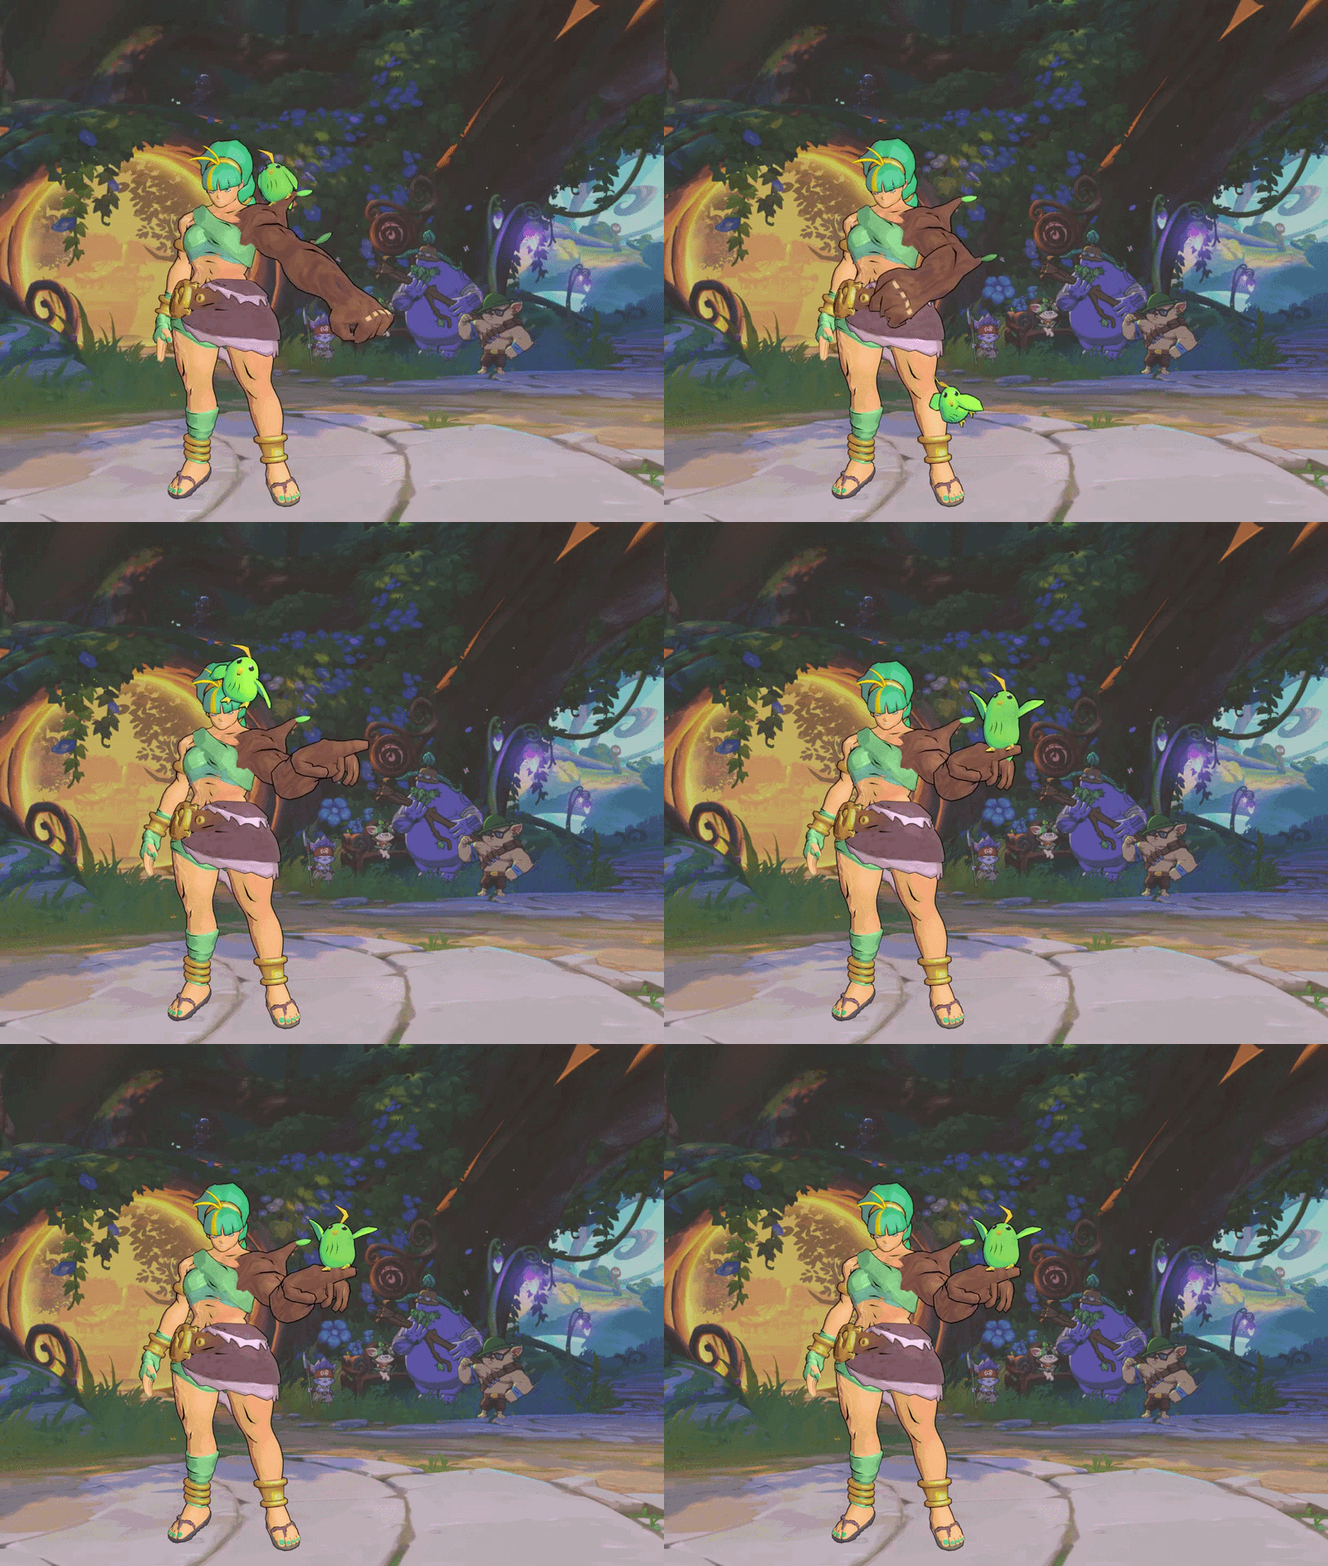
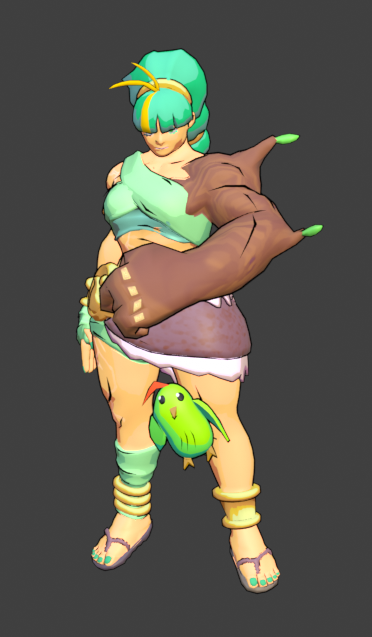
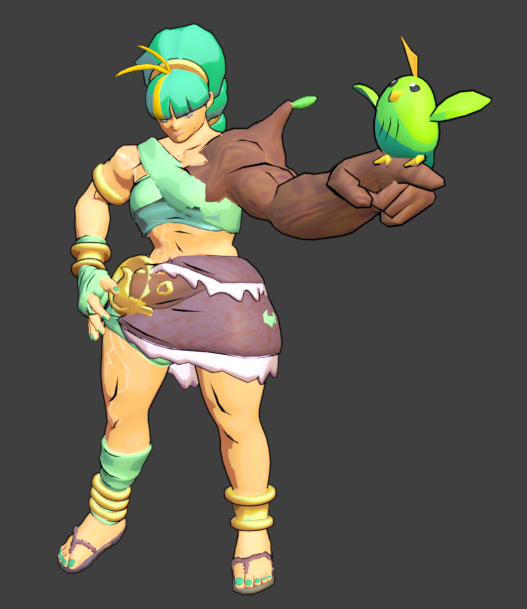
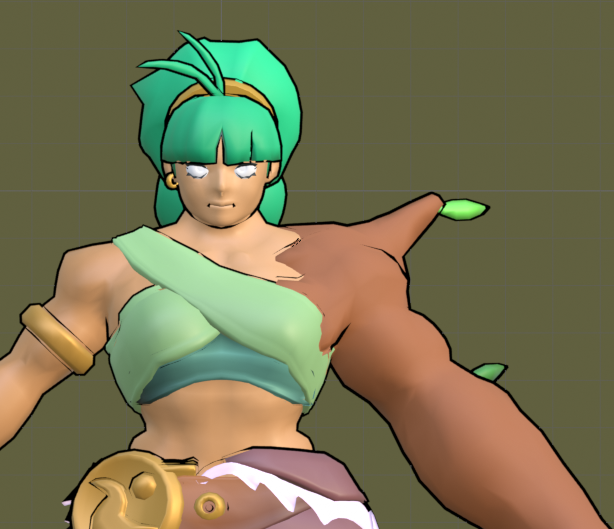
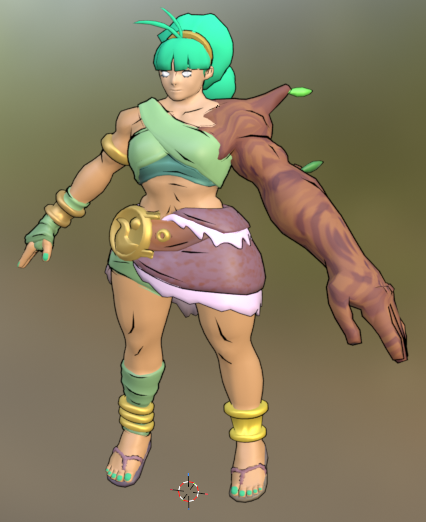
    And with that, Almena and her bird buddy are all finished! There are quite a few areas I could improve, but, overall for the time I had on this project, I’m happy with the final result.
  • Rigging the model

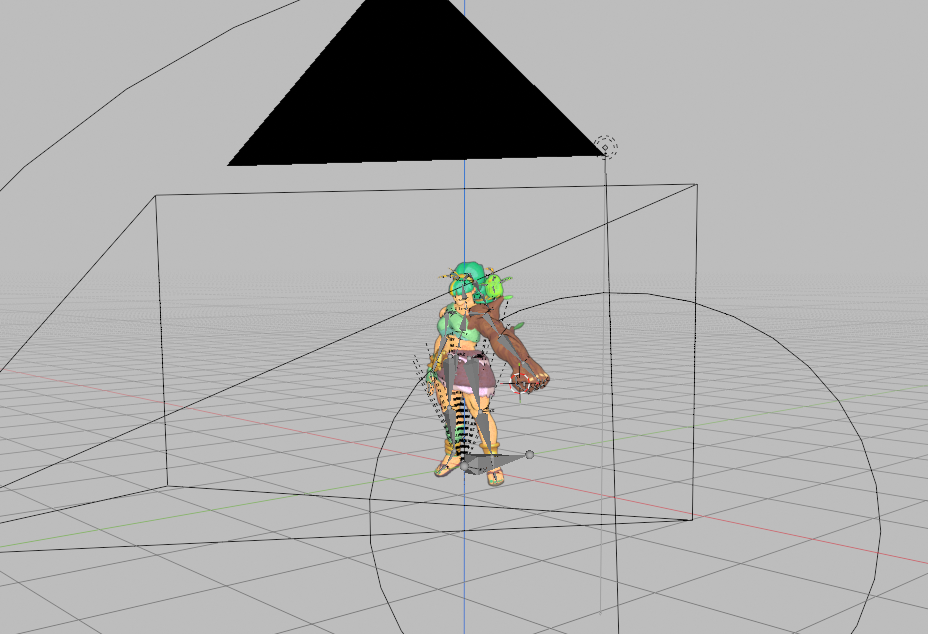
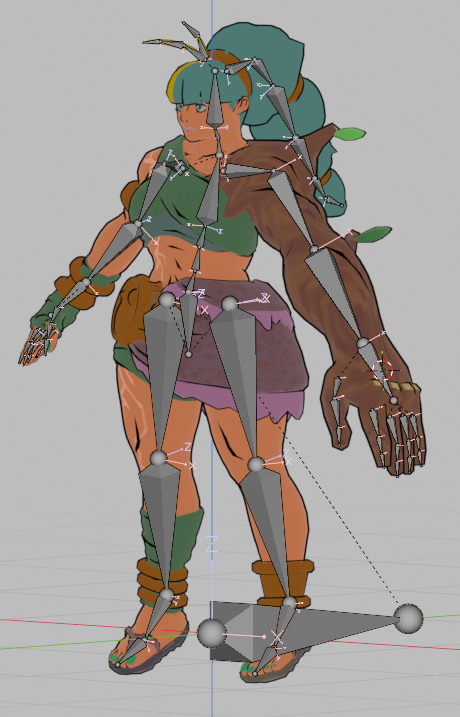
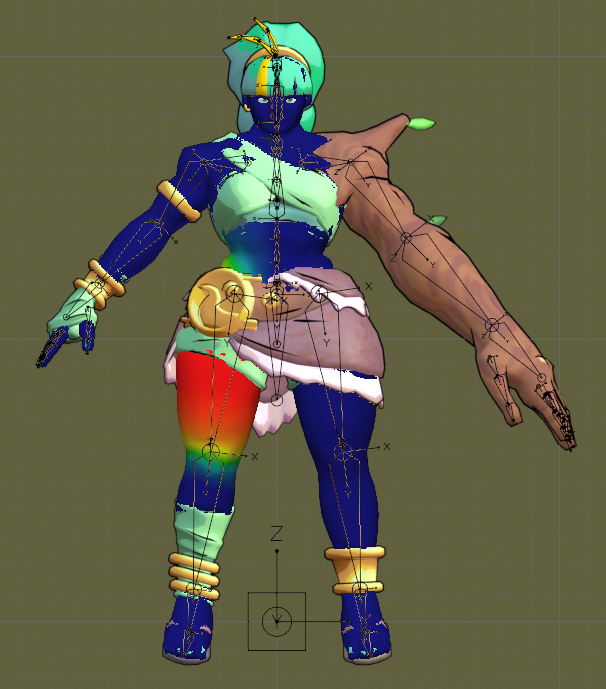
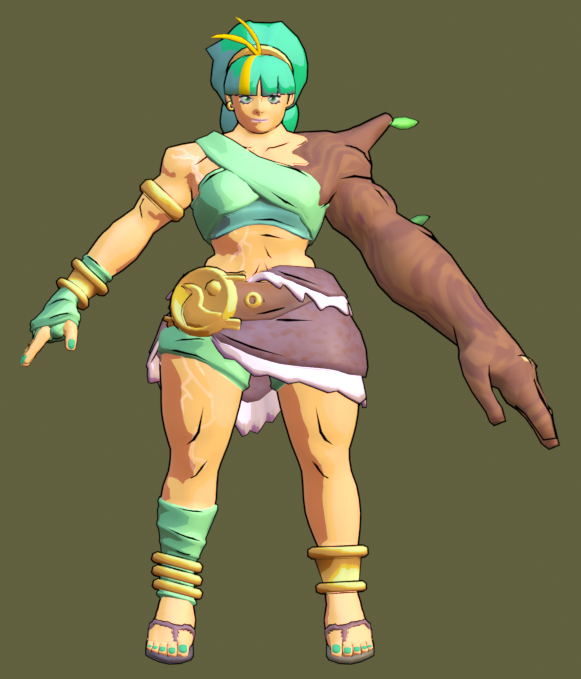
    Initially when rigging my model I used Mixamo, an auto rigging program – the result from this brought about too many problems so I quickly abandoned this pathway. Because of this I decided to rig the model myself. This proved easier than expected, I only had a few weight painting errors to deal with after I linked my skeleton to my model.

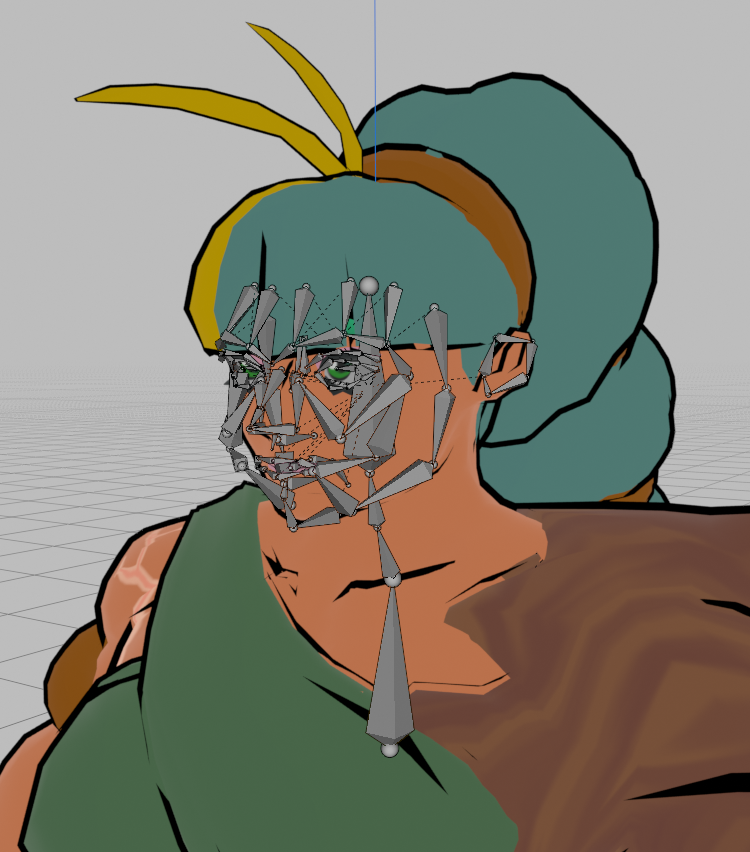
    I did attempt to give my character a face rig, however, after several attempts I gave up – I always ran into errors when trying to create the rig.

  • Texturing my character

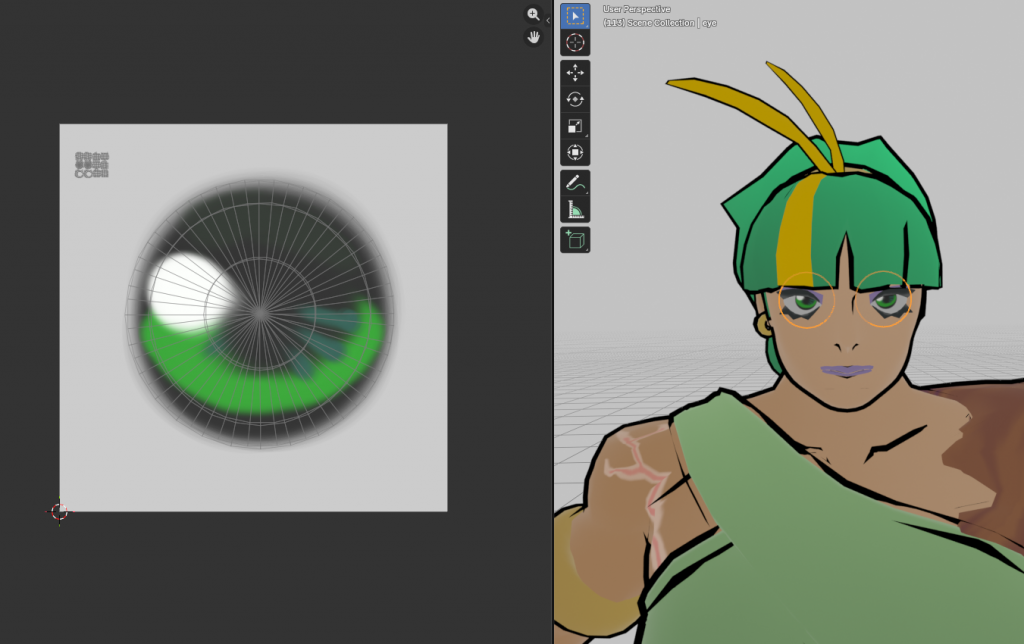
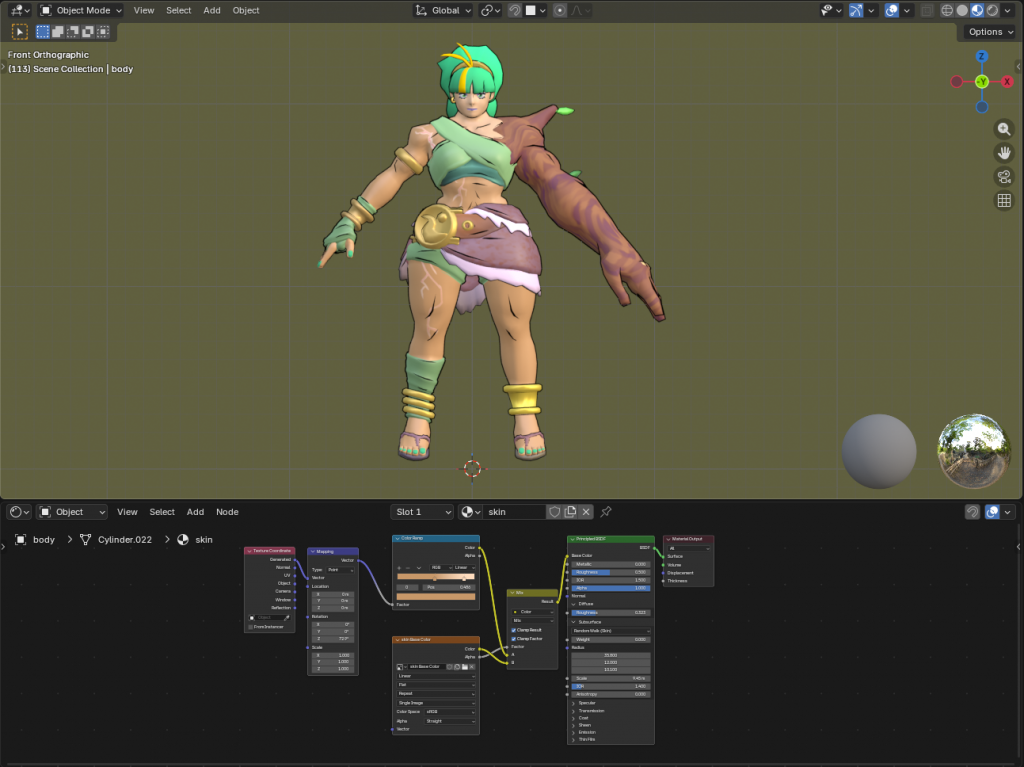
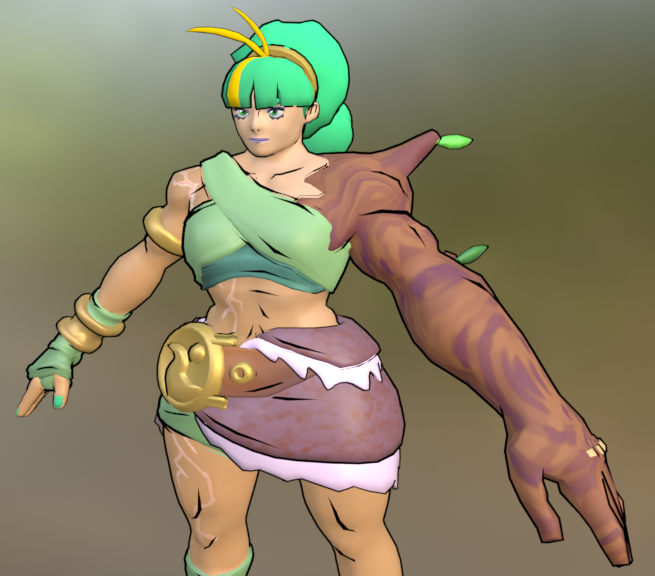
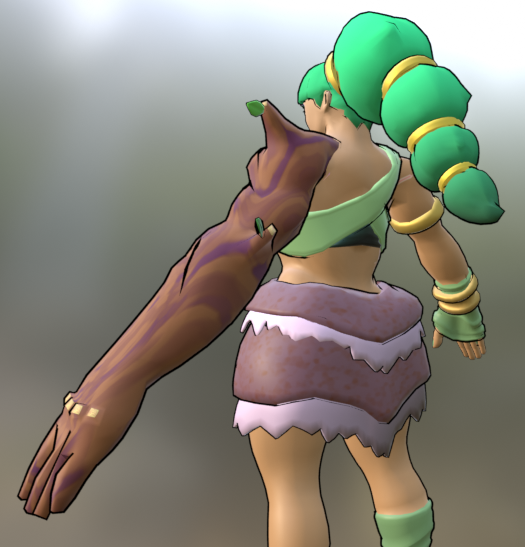
    After unwrapping my characters UVs I added block colour textures to my model. There was no need to bake high quality textures due to the style of the game I’m emulating – I used nodes in blender to add detail to the model. 

    From following a few tutorials I was able to develop a better understanding of how nodes worked in blender. I applied what I learnt to my model. Some parts of my model also required painted textures. I was able to use nodes to mix multiple textures on the same object. It took a bit of trial and error, but I was able to get a shader and painted texture onto the same object.

  • The BIRD

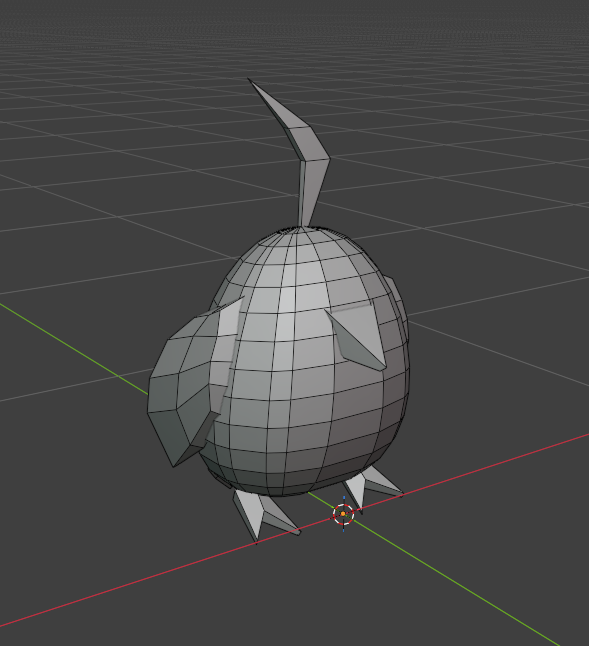
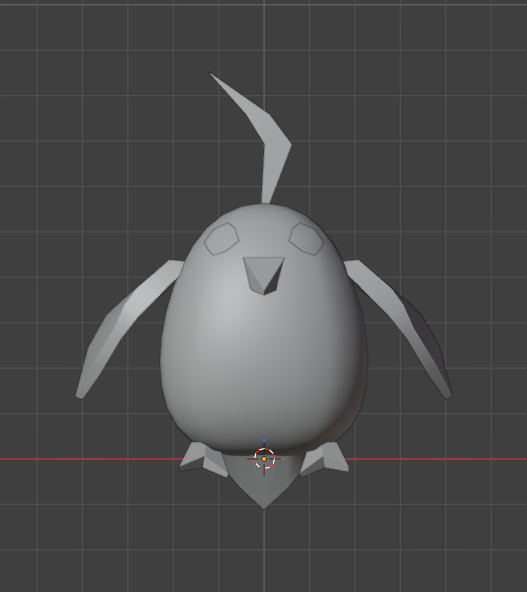
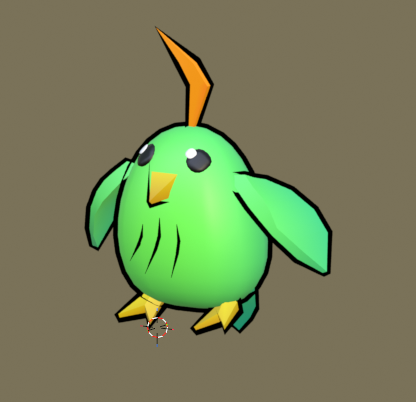
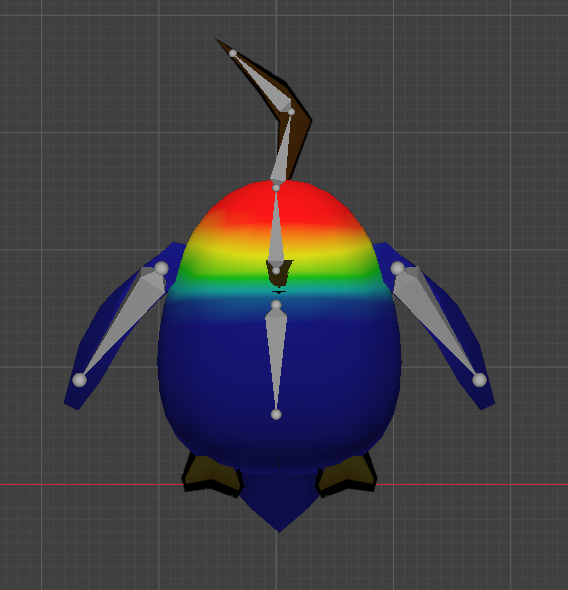
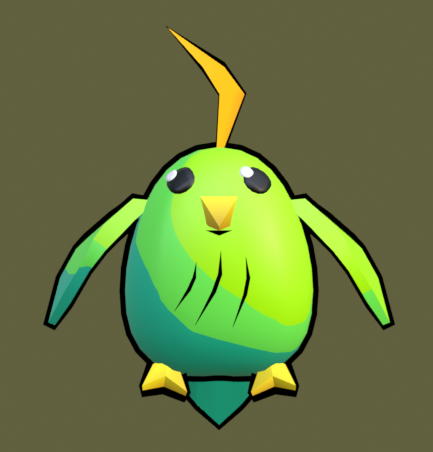
    A companinon to my main character is this small bird. I decided to fully complete this extra model before moving onto the main. This was so I could gain experience here, and hopefully make fewer mistakes later on when working on the more complex figure. The process on making this was the same up to texturing.

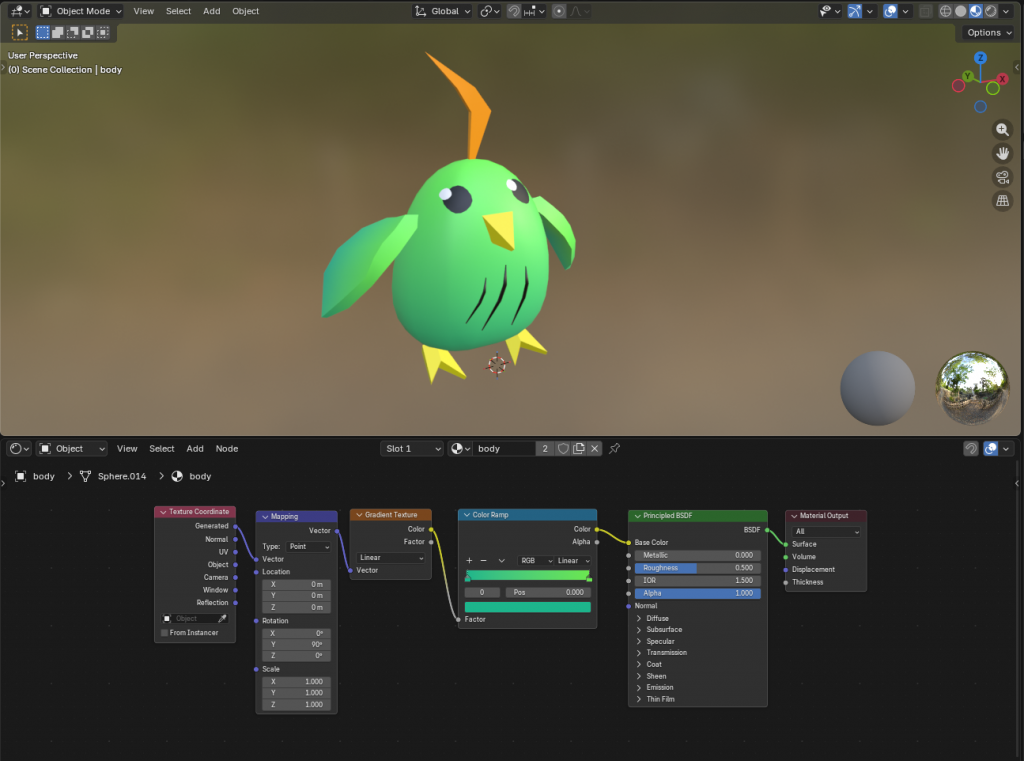
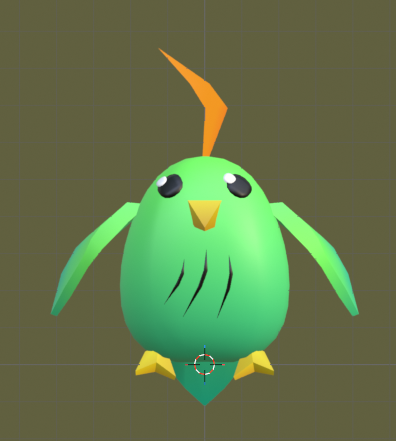
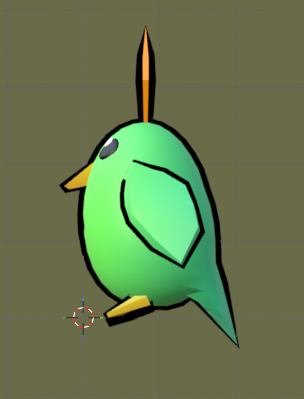
    For this models textures I entirely relied on Blenders nodes and shader. This was a first for me, so I had to follow a number of tutorials to reach my desired look. I added a gradient effect to the models colours and gave it an outline shader.

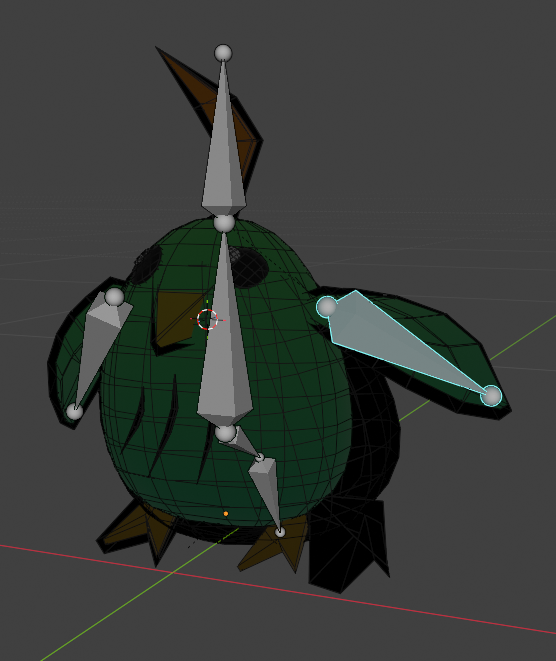
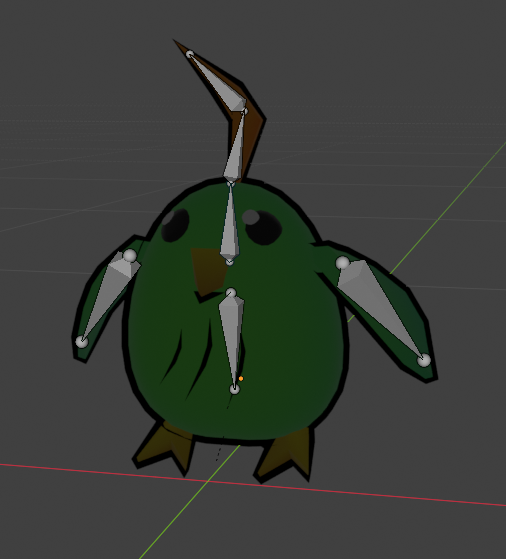
    When it came to rigging I came across an issue; my outline shader wouldn’t be pulled with the same weight of the armature compared to other parts of my model. I was able to solve this by going to an older file and not applying the shader straight away. In this process I had to weight paint the model so it would deform correctly – this is important so that when I come to animating the model won’t look strange when posed.

  • Carving out details

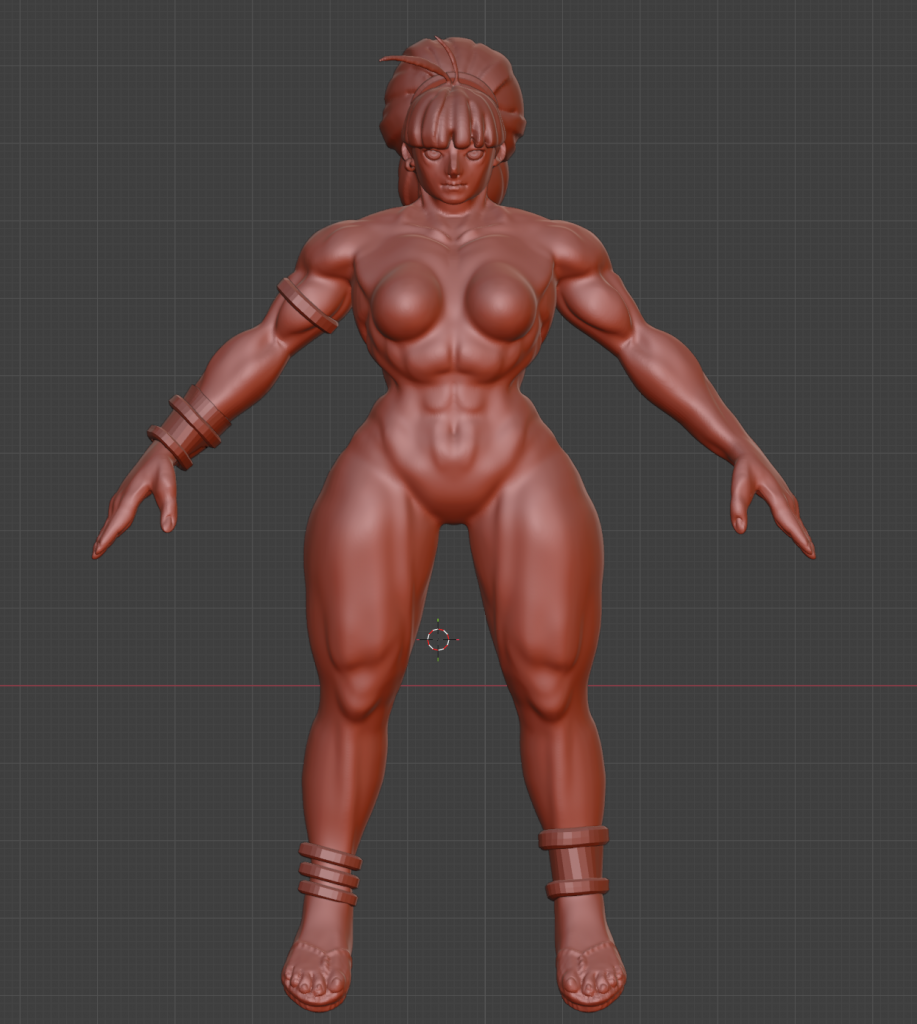
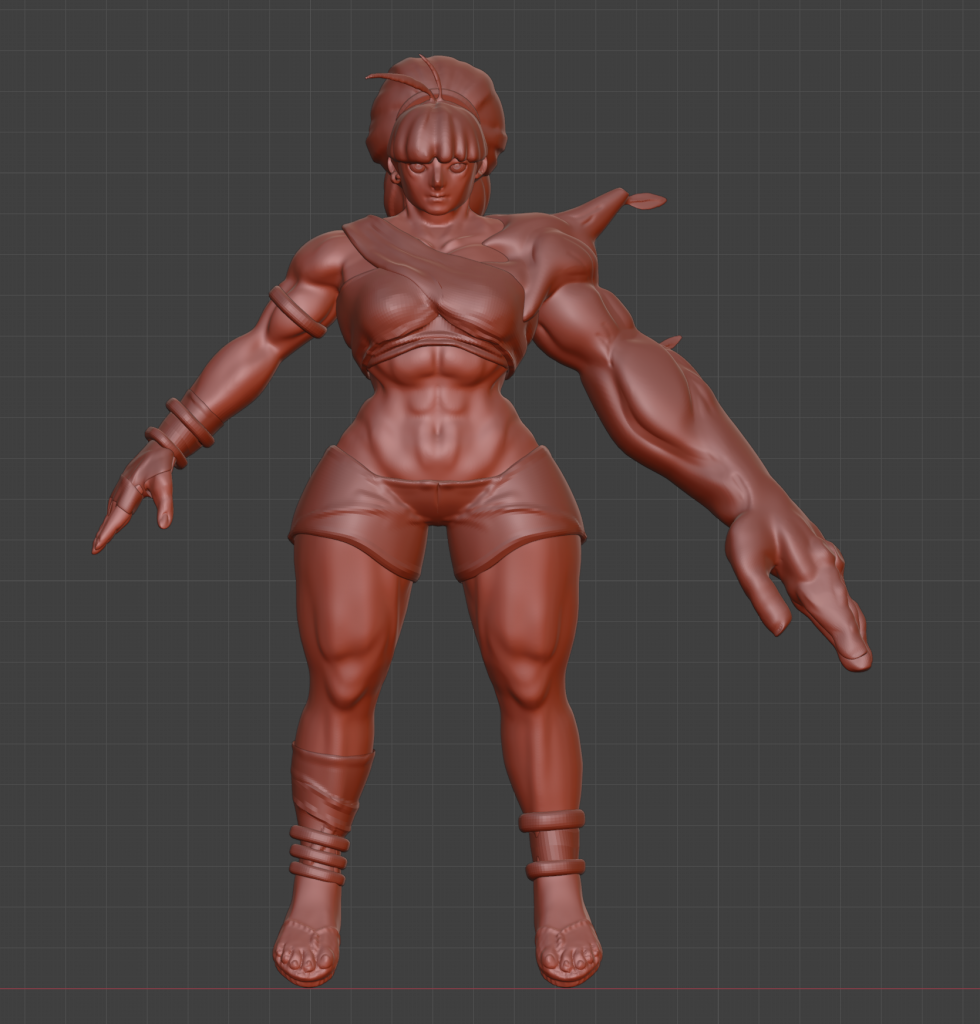
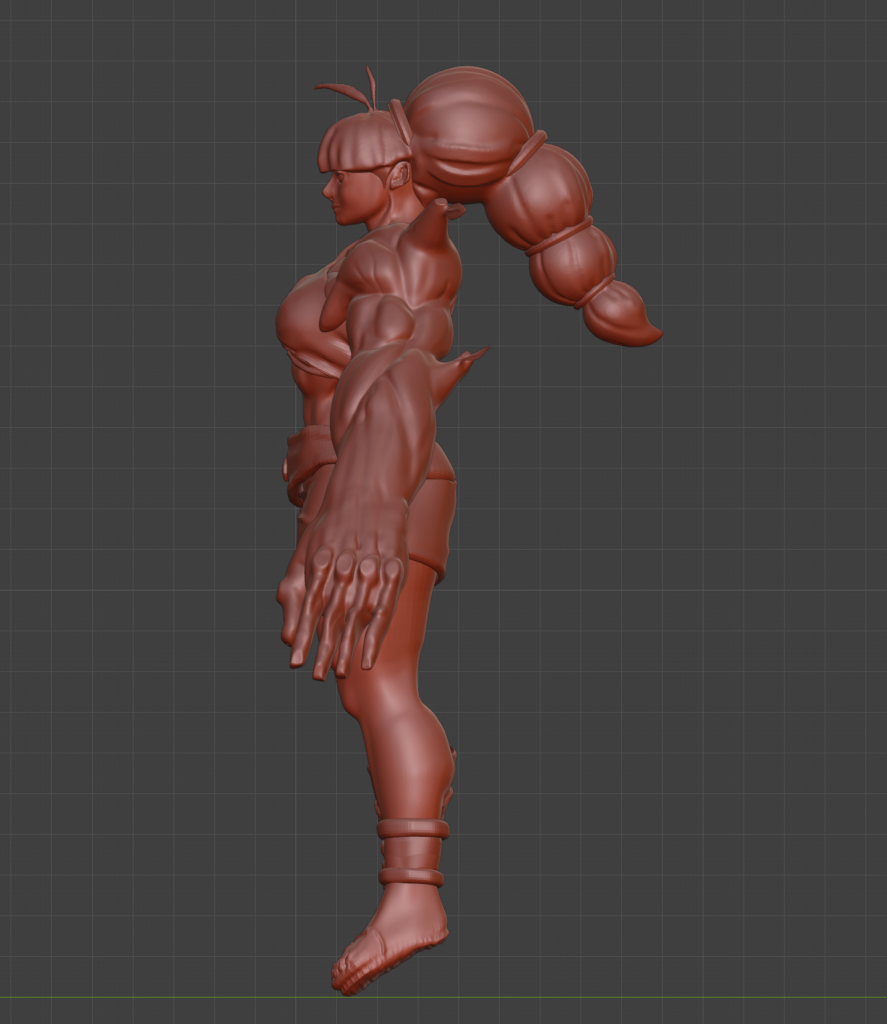
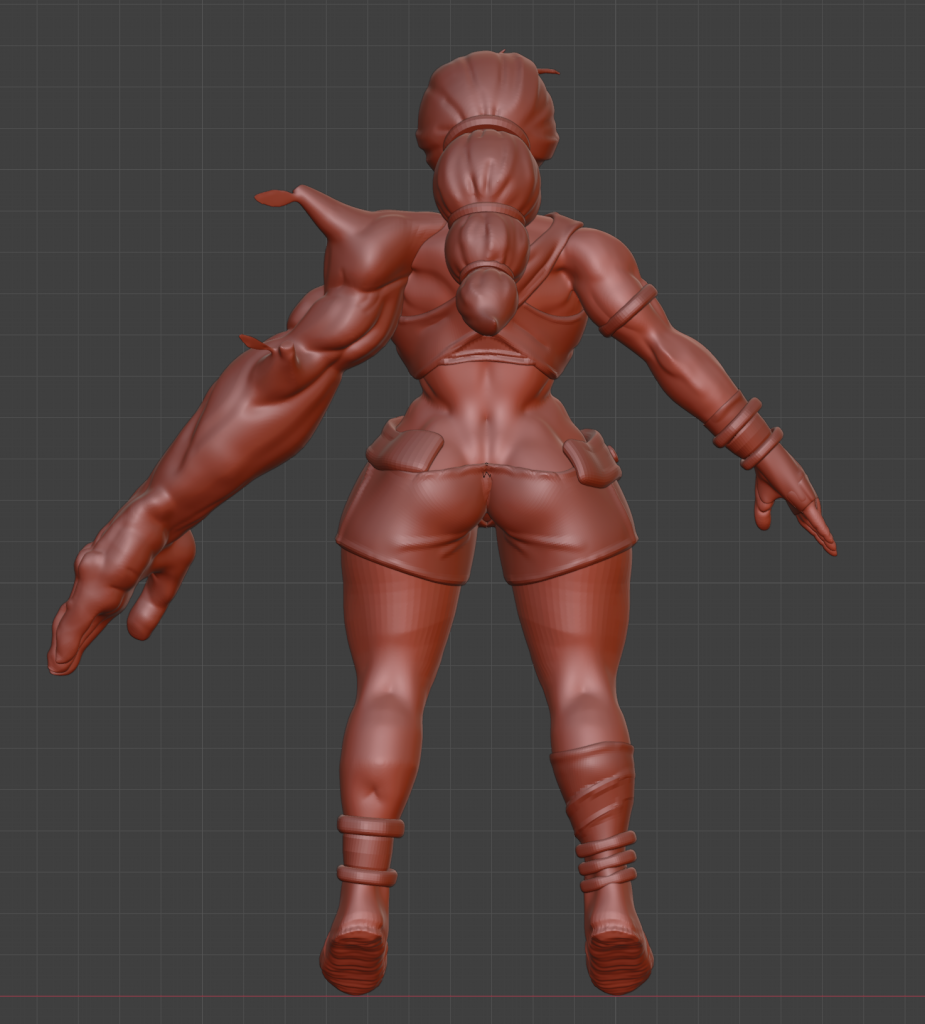
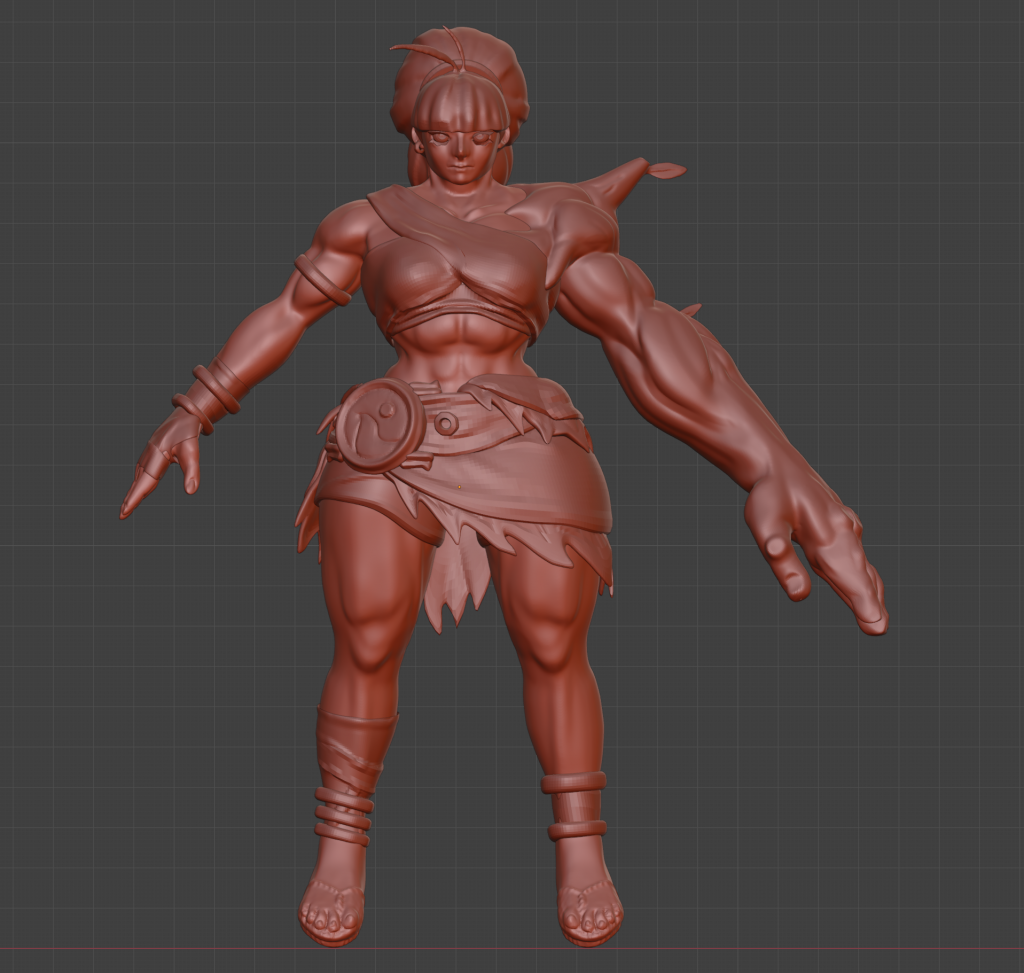
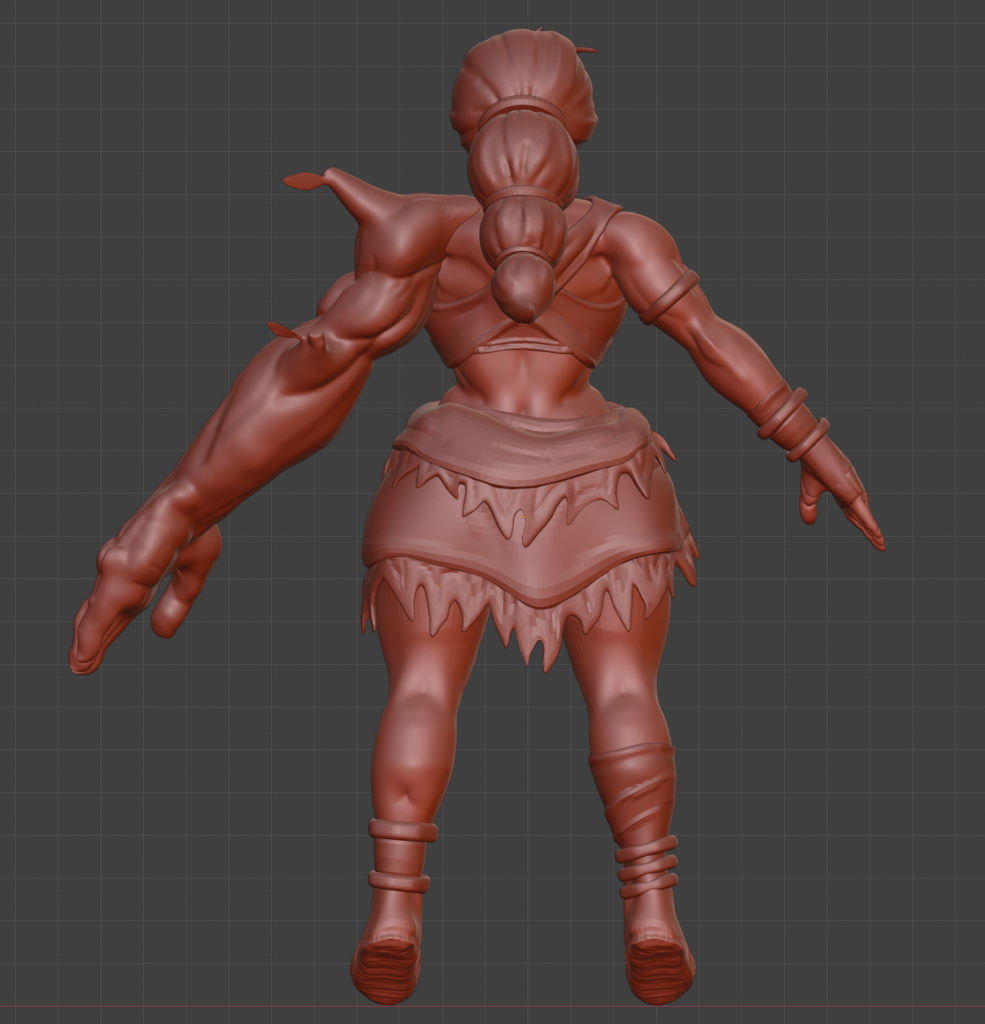
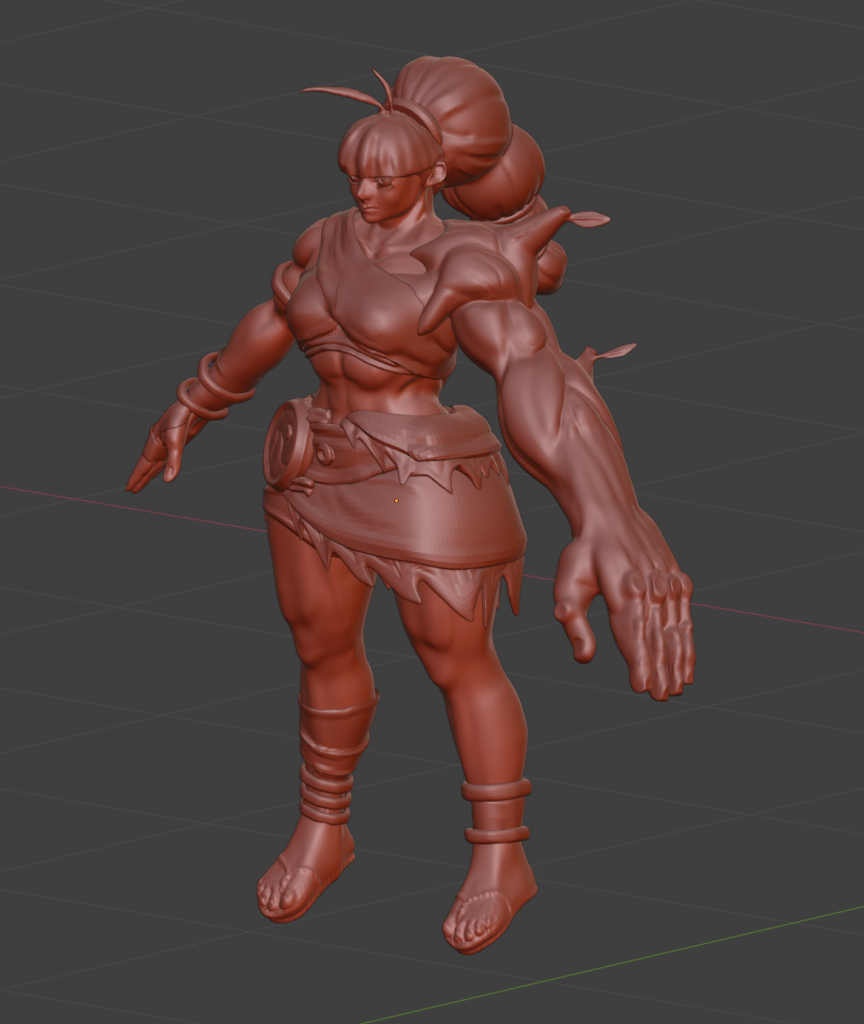
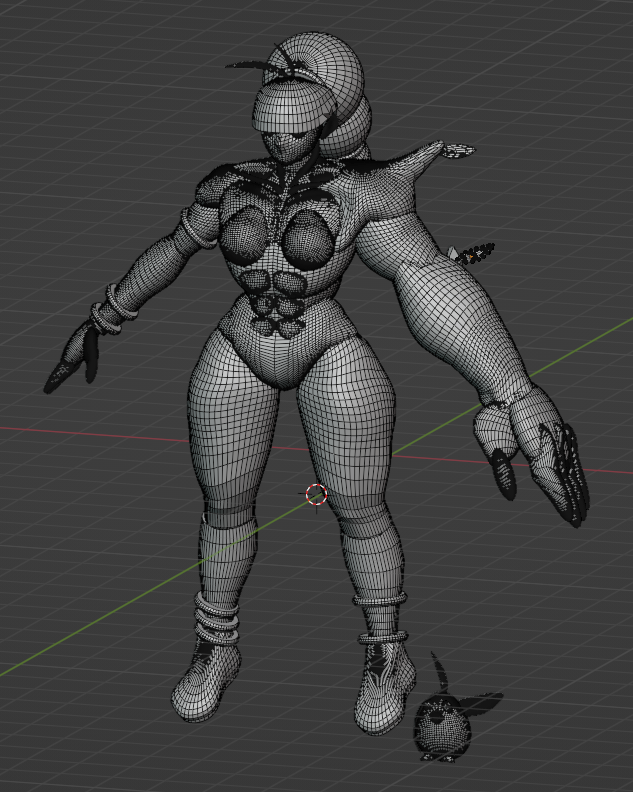
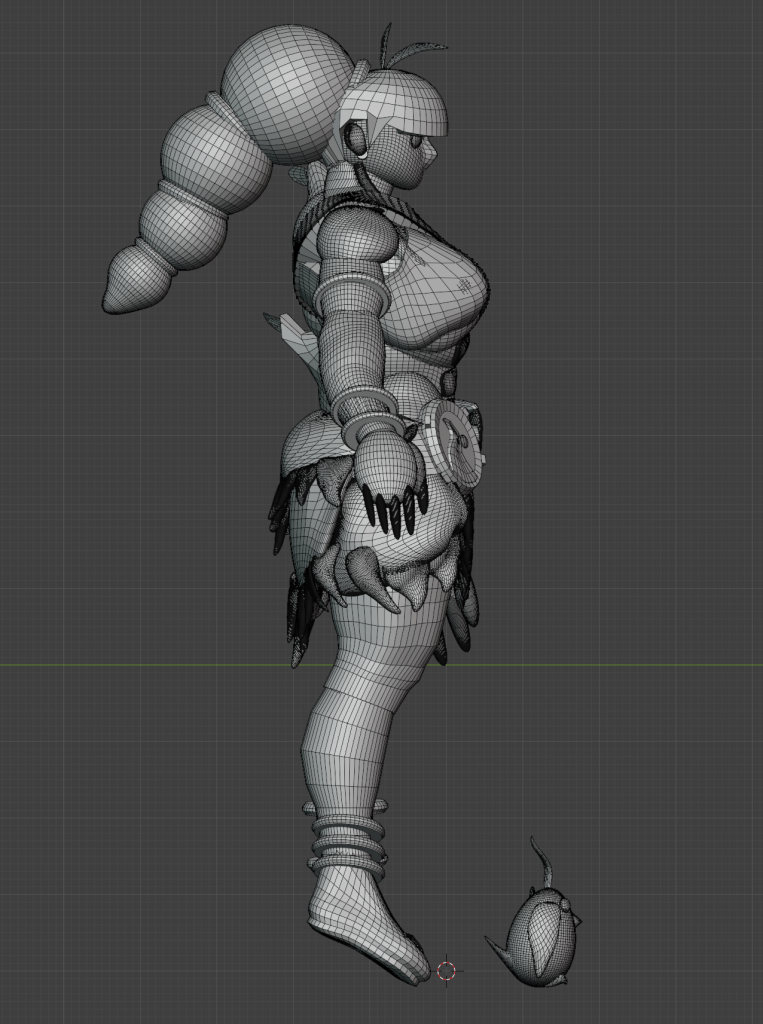
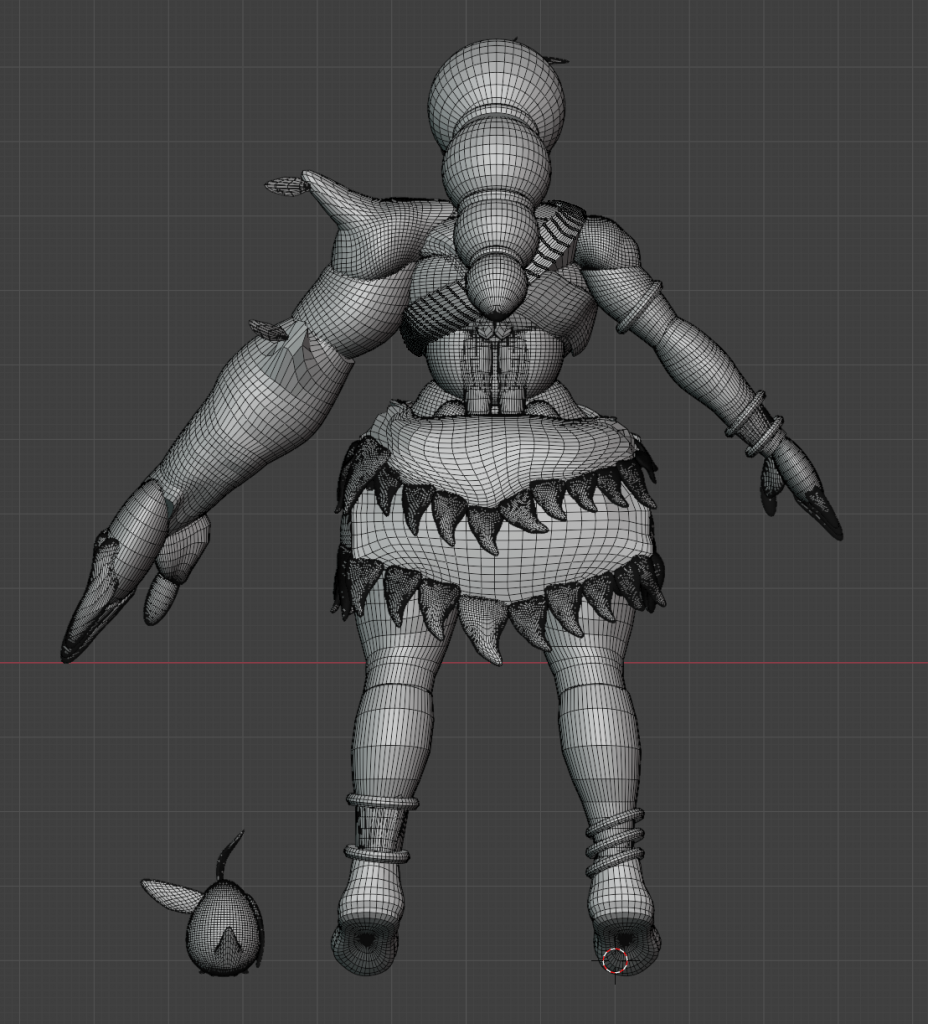
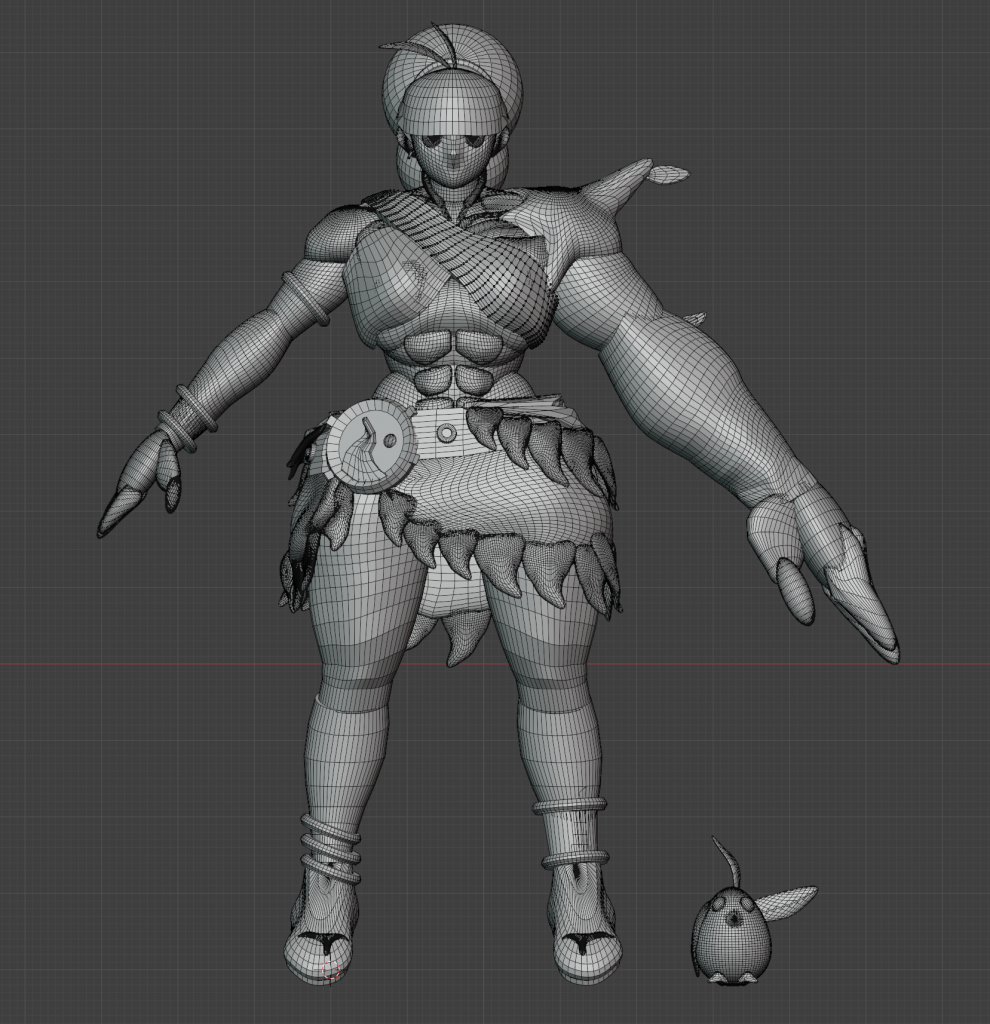
    From my initial blockout I began sculpting. I carved out details in my characters clothes, body and face.

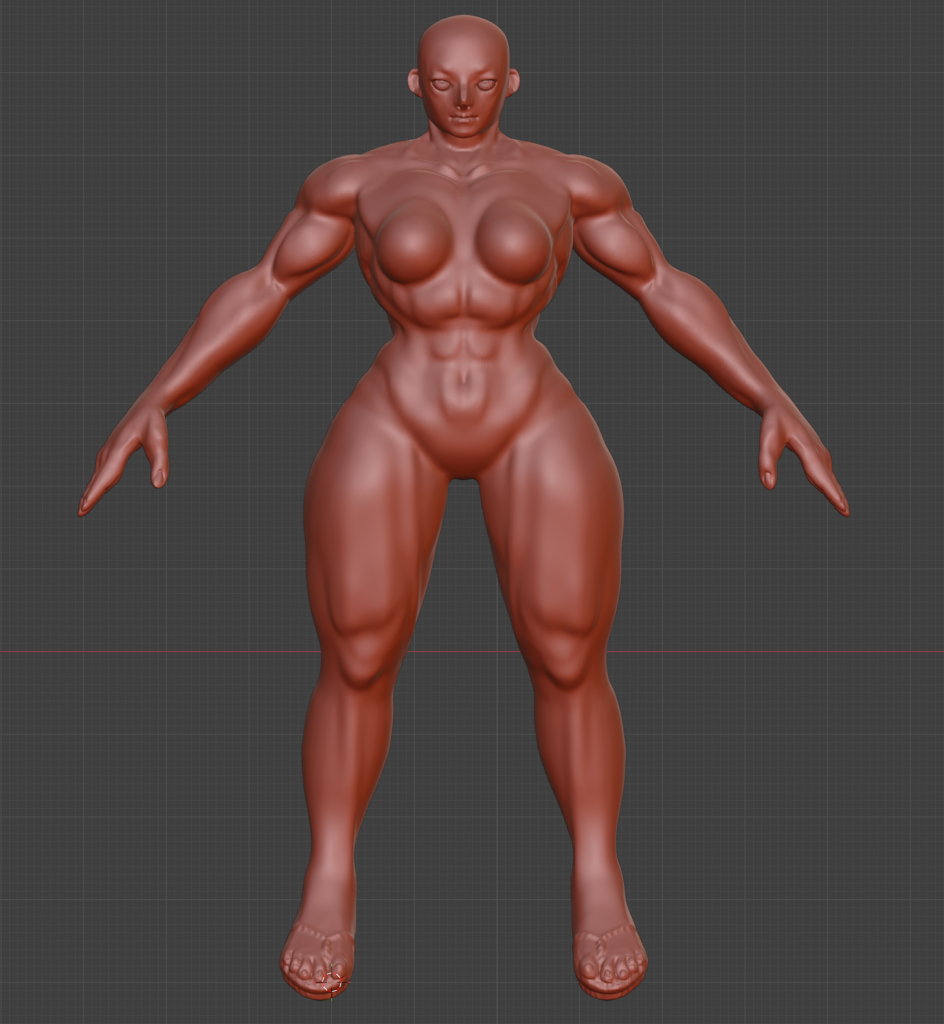
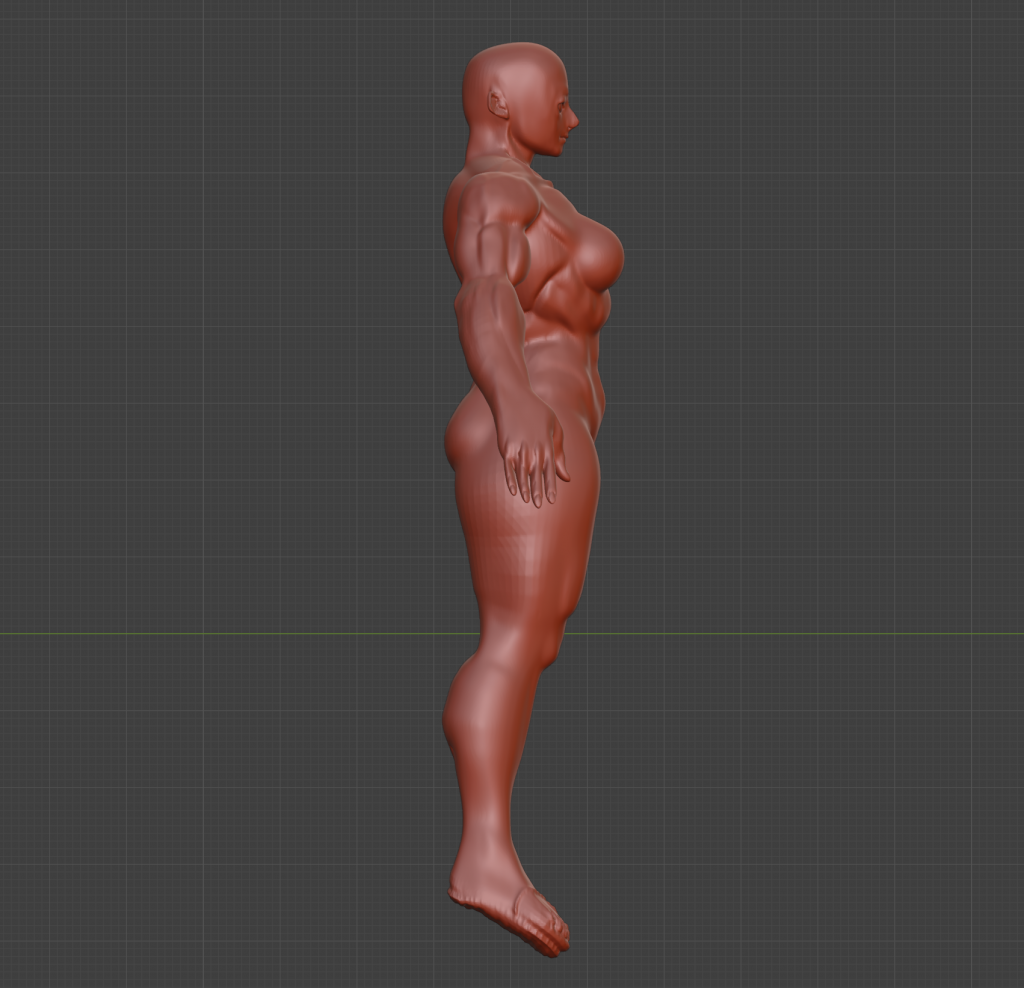
    From studying anatomy previously I found it not to be too much of a challenge to sculpt my characters body. Thanks to my complete blockout I was also able to be pretty efficient in moulding out the finer detail in my design.

    Detailing the head/face was the most challenging – I needed to reference the most when tackling this part – but in the end I feel that I came to a successful stylised outcome. Using this article was quite helpful overall in this sculpting phase:

     https://80.lv/articles/stylized-character-sculpting-in-zbrush

  • Blocking out

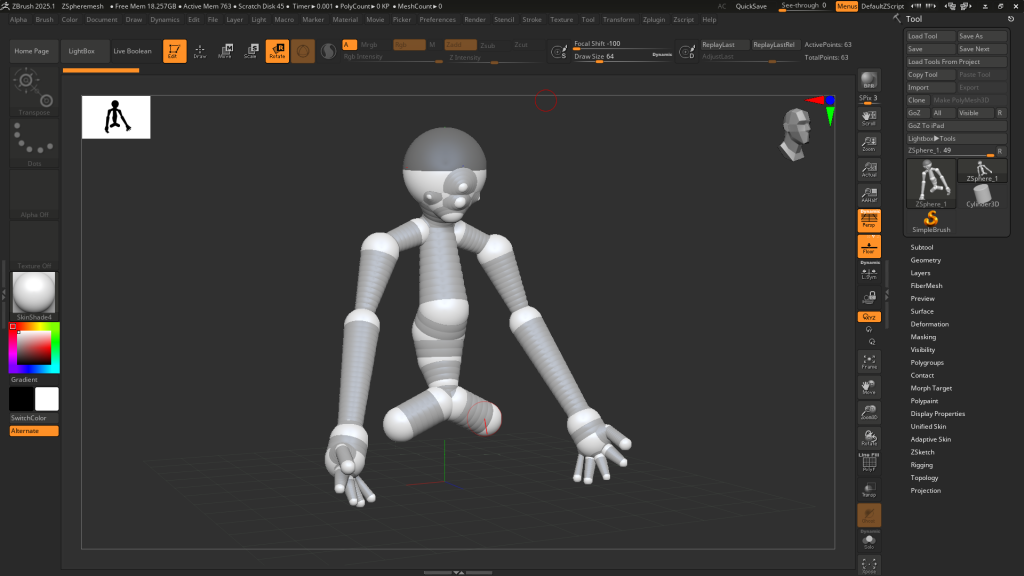
    This week I moved onto blocking out my model. In class we were shown one method of making a base using zspheres – I couldn’t quite get the hang of it so I moved on from this attempt…

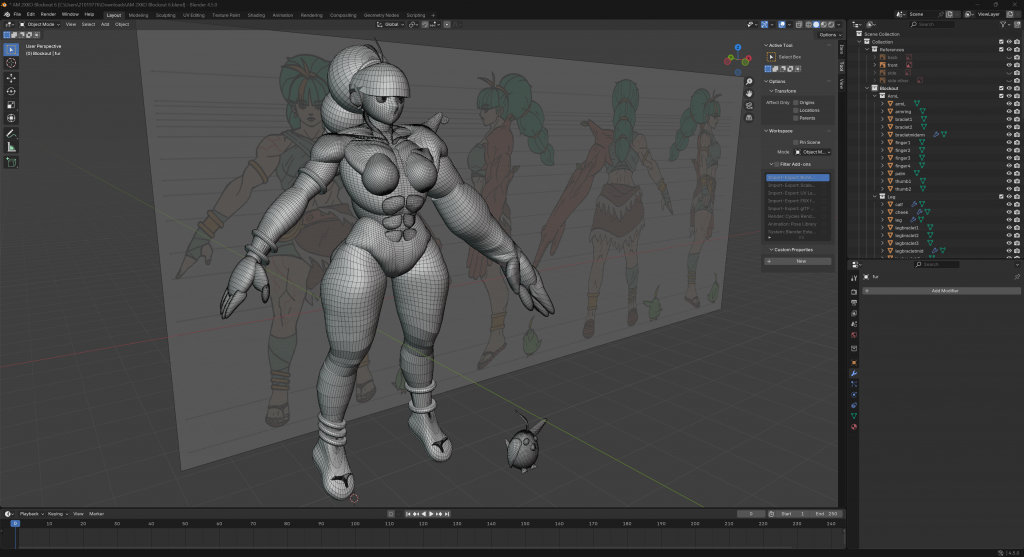
    In blender I created my initial block out, looking to map out the primary shapes/ largest forms. Next I will need to block out the secondary and tertiary forms and then bring out further detail with some sculpting.